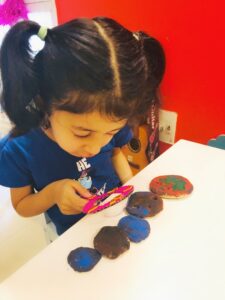
Remember the DIY Dinosaur fossils that we created few days back? You can read about it here. Kids learnt about fossils and extinct animals and also came across a new term “Paleontologist” through that activity. So ofcourse the next step had to be role play. While playing Paleontologist or archaeologist or even a detective is one of my little ones’ favourite games, but to be a real Paleontologist involves lots of Science! So we decided to make a magnifying glass.
HOW TO MAKE A MAGNIFYING GLASS
Materials
- A hand magnifying glass shaped cardboard piece
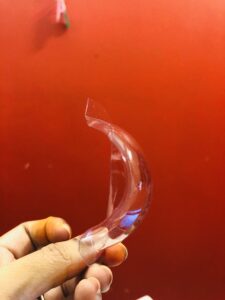
- A clear plastic bottle/ a curved disc-shaped plastic piece
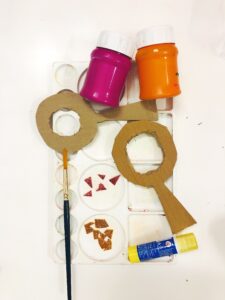
- Paints
- Decorative material (optional)
- Water
Procedure-
- We had a curved plastic piece which was a part of packing material of some toy. I simply cut it out in round disc shape. You may use a clear plastic bottle. Draw a circle shape at the neck of the bottle. It needs to be at the neck so you create a disc shape when you cut it out.
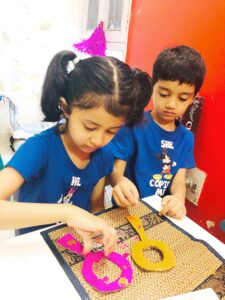
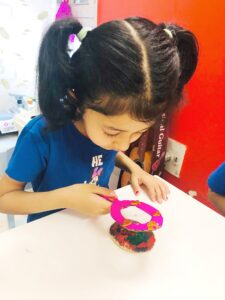
- Simultaneously, paint and decorate the hand magnifying glass cardboard cutout
- Now fix the plastic disc on this cardboard cutout
- Pour a little water into the disc
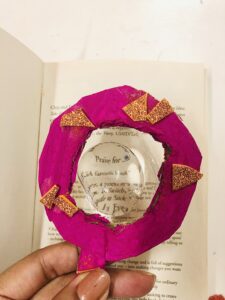
- Hold it over the object (fossils in this case) or paper to make the letters bigger. It really works so well!
The STEAM Part-
Science– The disc shape you have cut out curves outwards, so is a convex shape. By adding the water the light that passes through is refracted meaning that it is bent inwards, creating a lens effect and enlarging the size of the letters. So you have then created your very own magnifying glass!
Art– Painting, colouring and decorating the cutout is a great skill for easy learners.
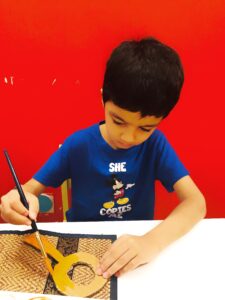
I personally find painting an object while holding it to be far more fun for kids than painting pictures on a paper or sketchbook.
Maths– While making the cutouts, we talked about different shapes, measurement of handle, size of circle etc.
Isn’t it so easy to make your own magnifying glass!!
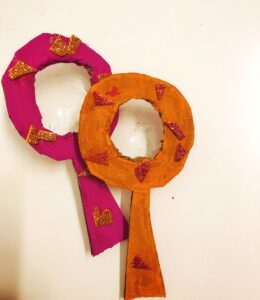
Try it out and don’t forget to share your experience.
Go Mommy!
